Install Dual Flush Valve in Glacier Bay Toilet - Fluidmaster
Products
Introduction
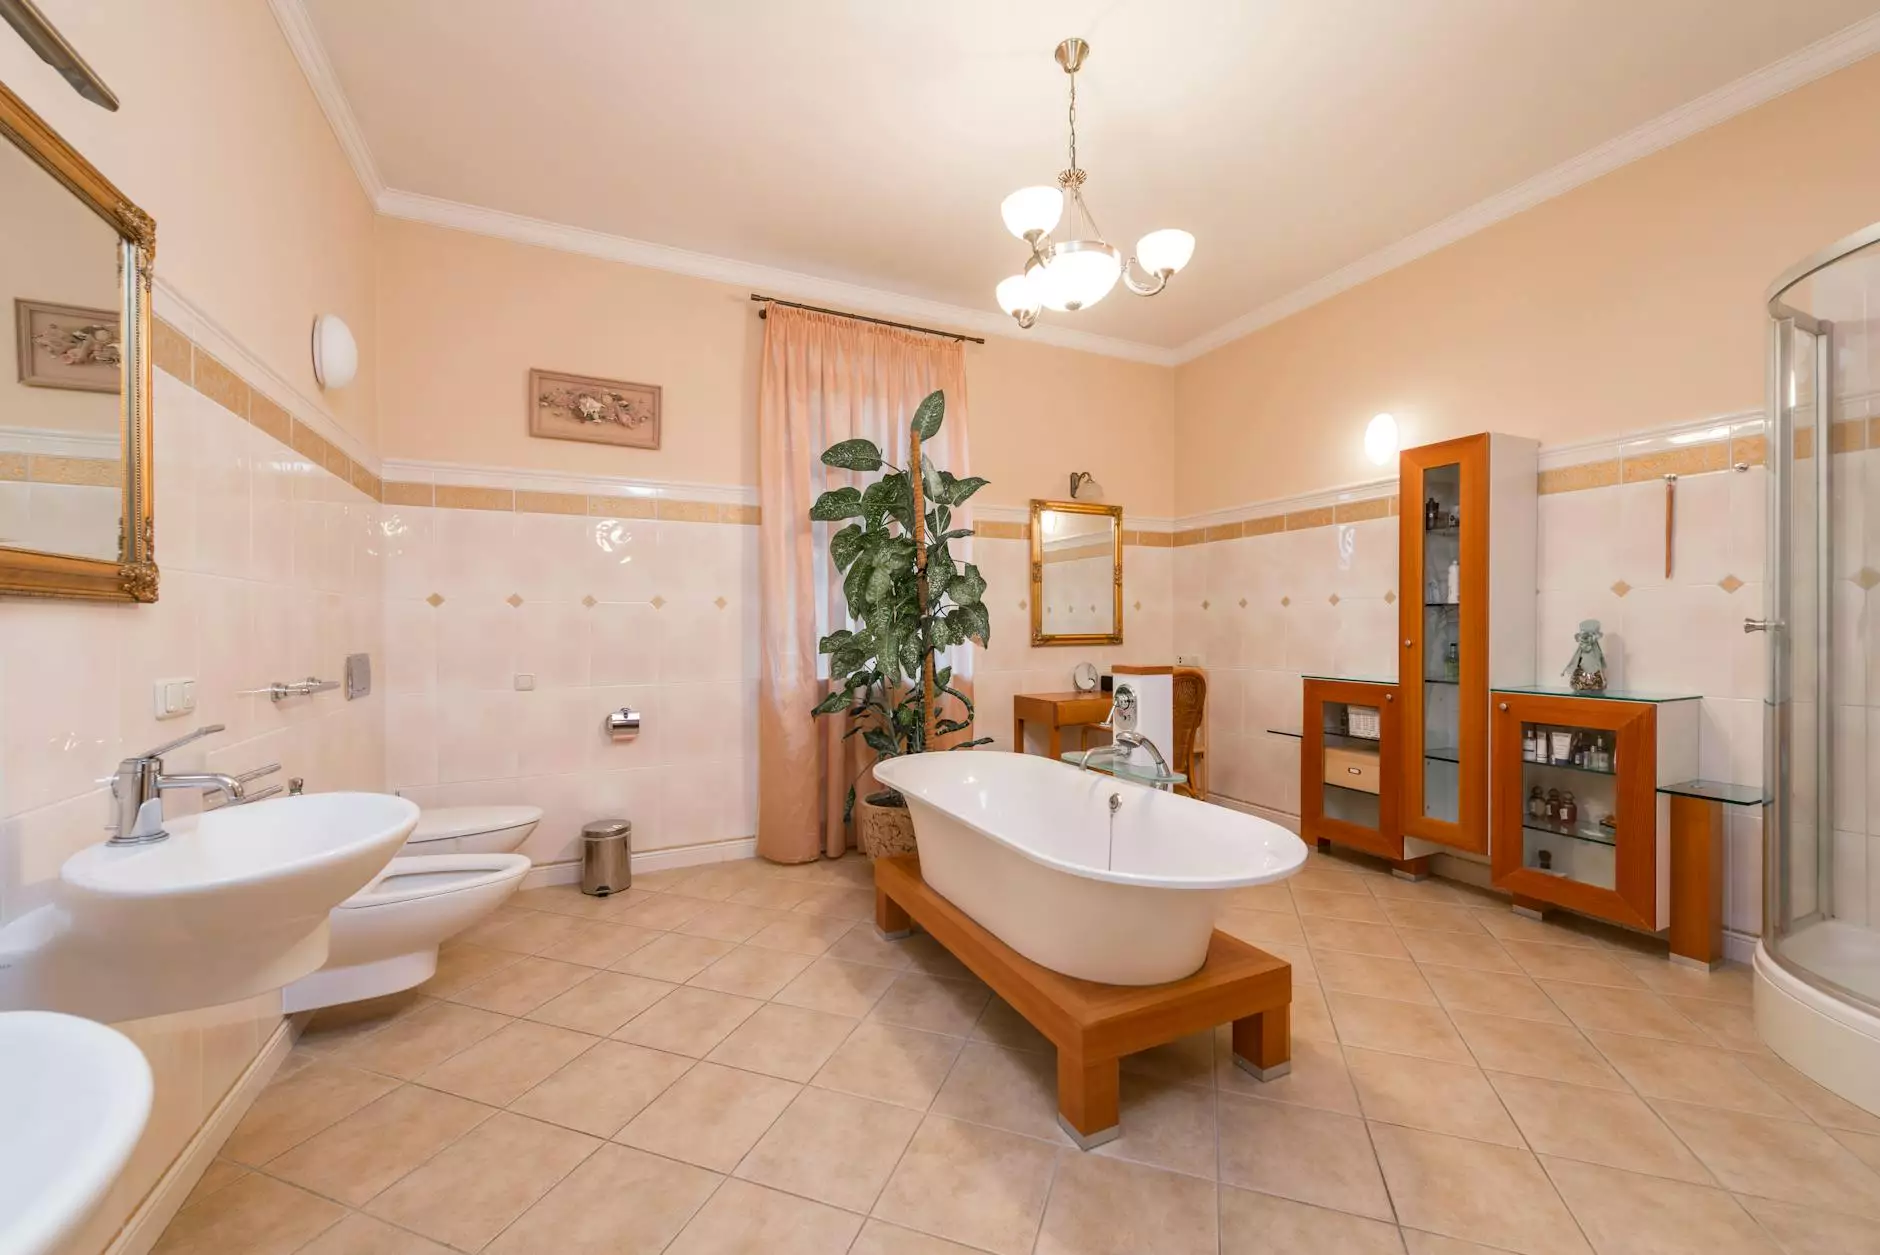
Welcome to Solar Powered Items, your one-stop destination for all your eCommerce & Shopping needs in the Appliances & Electronics category. In this comprehensive guide, we will walk you through the process of installing the Fluidmaster 830VBGB-3 Dual Flush Valve for Glacier Bay 2-Piece Toilets. By following our step-by-step instructions, you can enhance your toilet's performance, save water, and contribute to a greener environment.
Understanding Dual Flush Valves
Dual Flush Valves are innovative plumbing components that allow users to choose between a partial flush for liquid waste and a full flush for solid waste. They are designed to replace standard flush valves in toilets, granting you greater control over your water consumption. With a dual flush valve, you can reduce your water usage by up to 50% per flush, leading to significant water and cost savings in the long run.
Why Choose the Fluidmaster 830VBGB-3 Dual Flush Valve?
The Fluidmaster 830VBGB-3 Dual Flush Valve is a top-of-the-line product known for its reliability, durability, and ease of installation. With its universal design, this valve is compatible with most Glacier Bay 2-Piece Toilets, ensuring a hassle-free upgrade to your existing toilet system. Equipped with innovative technology, the 830VBGB-3 guarantees efficient flushing performance while maintaining a leak-free operation.
Step-by-Step Installation Guide
Follow these simple steps to install the Fluidmaster 830VBGB-3 Dual Flush Valve in your Glacier Bay toilet:
- Turn off the water supply to the toilet by twisting the shut-off valve clockwise.
- Flush the toilet to drain the water from the tank.
- Remove the tank lid and place it in a safe location.
- Disconnect the refill tube from the flush valve.
- Unscrew the old flush valve from the bottom of the tank in a counterclockwise direction.
- Clean the mounting surface inside the tank to ensure a secure fit for the new flush valve.
- Insert the new Fluidmaster 830VBGB-3 Dual Flush Valve into the mounting hole and tighten it by turning clockwise.
- Reattach the refill tube to the flush valve.
- Turn on the water supply and allow the tank to fill.
- Adjust the water level using the float adjustment mechanism.
- Test the flushing mechanism by flushing the toilet multiple times and ensure there are no leaks.
- Replace the tank lid and congratulate yourself on a successful installation.
Tips and Recommendations
Here are some additional tips and recommendations to enhance your experience with the Fluidmaster 830VBGB-3 Dual Flush Valve:
- Regularly check for any leaks or drips in the toilet tank to ensure optimal performance.
- Consider replacing the toilet's flapper valve at the same time as the flush valve for better efficiency.
- Keep the area around the flush valve clean and free from debris to prevent any clogging issues.
- If you encounter any difficulties during installation, refer to the included manufacturer's instructions or seek professional assistance.
Conclusion
By installing the Fluidmaster 830VBGB-3 Dual Flush Valve in your Glacier Bay toilet, you can significantly improve water efficiency and contribute to a sustainable future. Solar Powered Items offers you the opportunity to upgrade your toilet with this advanced dual flush valve, providing step-by-step instructions and expert advice to ensure a successful installation. Take the necessary steps today and enjoy the benefits of a more eco-friendly and cost-effective toilet system.