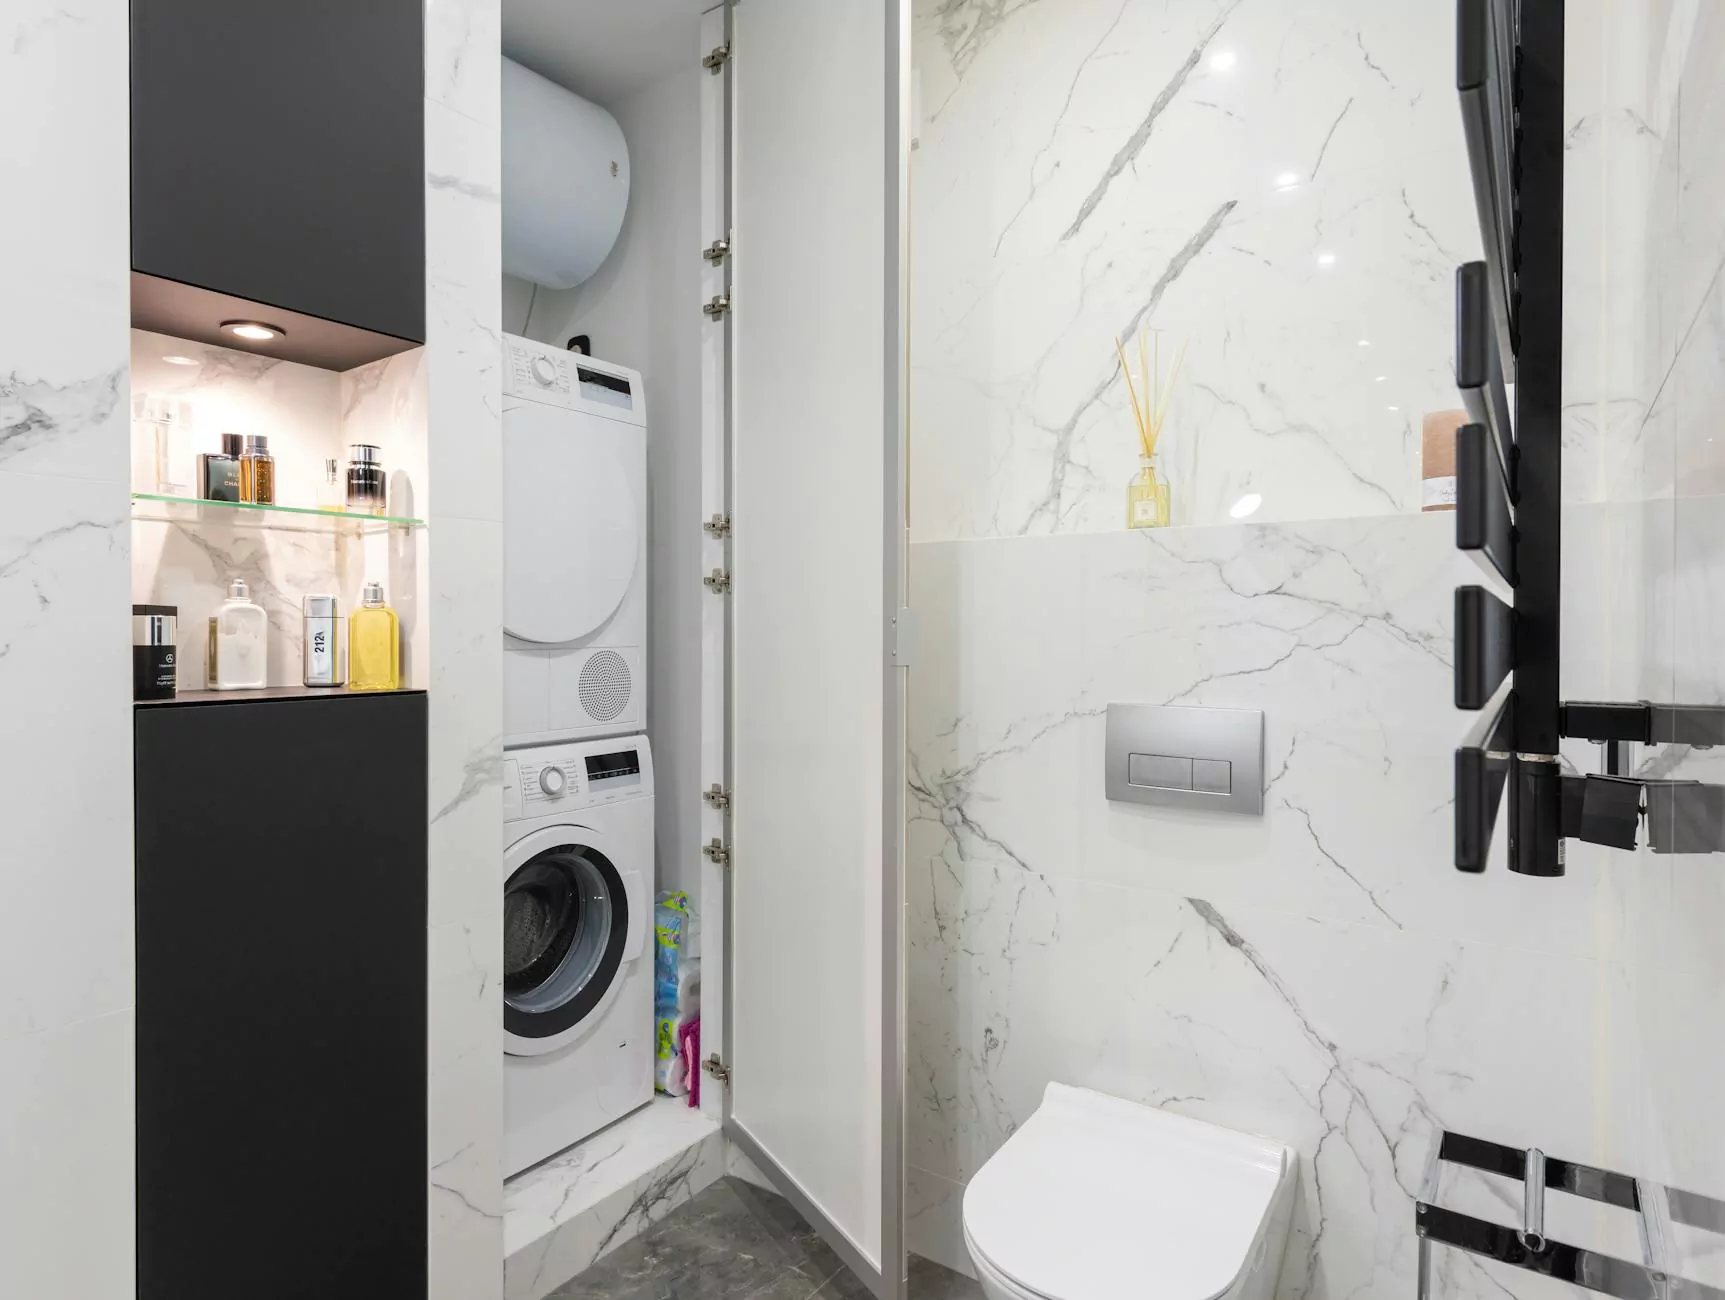
Installing / Resolving Leaks at the Tank Bolts
Home Decor
Introduction
Welcome to Solar Powered Items' comprehensive guide on installing and resolving leaks at the tank bolts of your toilet. We understand how frustrating it can be to deal with leaks and improper installations, so we've put together this detailed guide to help you successfully tackle this common issue.
Chapter 1: Signs of Leaks
Before we dive into the installation process, let's discuss the signs that indicate a leak at the tank bolts. It's essential to identify these signs to address the problem promptly.
If you notice water pooling around the base of your toilet, a continuous hissing sound coming from the tank, or an increase in your water bill without an apparent reason, it's likely that you have a leak at the tank bolts.
Chapter 2: Tools and Supplies
Before you start the installation process, gather the necessary tools and supplies to ensure a smooth experience. Here are some items you'll need:
- Adjustable wrench
- Screwdriver
- Replacement tank bolts and washers
- Rubber gasket
- Plumber's tape
- Toilet tank gasket
Chapter 3: Step-by-Step Installation Guide
Now let's walk through the step-by-step process of installing tank bolts for your toilet:
Step 1: Turn off the Water Supply
Before you begin any work, shut off the water supply to your toilet. You can usually find the valve behind the toilet near the floor. Turn it clockwise to close the valve and stop the water flow.
Step 2: Drain the Toilet Tank
Flush the toilet to remove water from the tank. Use a sponge or a towel to soak up any remaining water in the tank and bowl. This step is crucial to prevent water spillage during the installation process.
Step 3: Remove the Old Bolts
Locate the nuts on the underside of the tank that hold the old bolts in place. Use an adjustable wrench to loosen and remove the nuts. Once the nuts are off, you can remove the old tank bolts and washers.
Step 4: Place the Rubber Gasket
Take the new rubber gasket and place it over the holes on the underside of the tank. Ensure that the gasket is properly aligned with the holes to form a tight seal.
Step 5: Insert the New Bolts
Insert the new tank bolts through the holes in the tank and the rubber gasket. From underneath, secure each bolt with a washer and a nut. Use an adjustable wrench to tighten the nuts until they are firmly in place.
Step 6: Reassemble the Toilet
With the new tank bolts securely in place, it's time to reassemble the toilet. Carefully lower the tank onto the bowl, aligning the bolt holes with the corresponding holes on the bowl. Once aligned, tighten the nuts on the underside to connect the tank and bowl.
Step 7: Turn on the Water Supply
Finally, turn on the water supply by turning the valve counterclockwise. Allow the tank to fill up and check for any leaks. If everything looks good, congrats! You have successfully installed new tank bolts and resolved any leaks.
Chapter 4: Further Tips and Considerations
While the installation process is relatively straightforward, here are some additional tips and considerations to keep in mind:
- Always follow the manufacturer's instructions for specific toilet models and hardware.
- Inspect the condition of other components, such as the flush valve and fill valve, to ensure proper functioning.
- Consider using plumber's tape when connecting the nuts to provide a stronger seal.
- In case of persistent leaks or more complex issues, it's recommended to consult a professional plumber.
Conclusion
By following this step-by-step guide, you can confidently install new tank bolts and resolve leaks in your toilet. Remember, a properly installed and maintained toilet will not only save you money on water bills but also prevent potential damage to your bathroom. If you need further assistance or have any questions, don't hesitate to reach out to Solar Powered Items - your trusted source for eCommerce & Shopping - Appliances & Electronics.