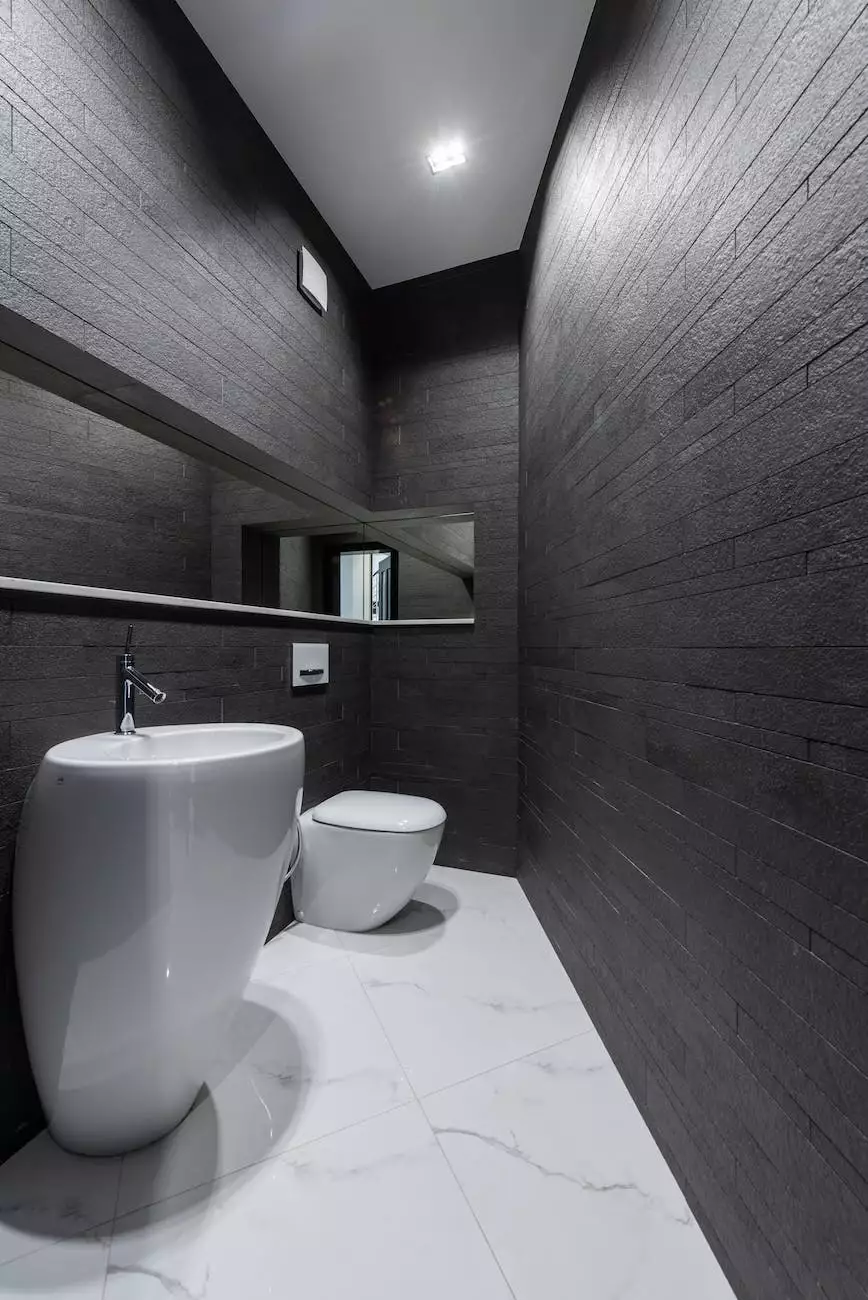
What to Use When Replacing & Installing a Toilet
Home Decor
Are you planning to upgrade or replace your toilet? Properly installing a toilet is essential for maintaining a hygienic and functional bathroom. By following the right steps and using the necessary tools and materials, you can ensure a successful toilet replacement or installation without any unwanted leaks or issues.
Why Replace or Install a New Toilet?
Before diving into the details, let's understand why you might consider replacing or installing a new toilet in the first place:
- Improved efficiency: Newer toilets are designed to be more water-efficient, helping you conserve water and reduce your water bills.
- Enhanced aesthetics: Upgrading to a newer toilet can improve the overall appearance of your bathroom, giving it a fresh and modern look.
- Increased functionality: Innovative features such as dual-flush systems and soft-close seats can add convenience and comfort to your bathroom experience.
- Resolving issues: If you're frequently experiencing clogs, leaks, or persistent repairs, it might be time to replace your old toilet and start anew.
Essential Tools and Materials
Having the right tools and materials is crucial for a smooth toilet replacement or installation process. Here is a comprehensive list of the items you'll need:
1. Toilet Bowl Wrench
A toilet bowl wrench, also known as a toilet seat wrench, is essential for loosening and tightening the nuts that secure the toilet bowl to the floor.
2. Hacksaw
A hacksaw is useful for cutting through bolts, screws, or any other necessary modifications during the removal or installation process.
3. Adjustable Wrench
An adjustable wrench allows you to tighten or loosen nuts and bolts of various sizes, ensuring a secure connection between different components.
4. Screwdriver
A screwdriver, both Phillips and flat-head, is needed for removing or installing screws that hold the toilet seat and other accessories in place.
5. Wax Ring
A wax ring creates a watertight seal between the toilet bowl and the sewer pipe, preventing any leaks or odors from escaping.
6. Shims
If your floor is uneven, shims can help level the toilet and provide stability. They are typically made of plastic or wood.
7. Flexible Supply Line
A flexible supply line connects the water supply valve to the toilet tank, allowing water to flow smoothly during each flush.
8. Closet Bolts
Closet bolts, also known as toilet flange bolts, secure the toilet to the floor and ensure stability and proper alignment.
9. Nut Driver
A nut driver is used to tighten or loosen nuts and bolts with ease, ensuring a secure and stable installation.
10. Level
A level ensures that your toilet is installed evenly and prevents any imbalance that could lead to leaks or cracks.
11. Gloves and Safety Glasses
Protective gear, such as gloves and safety glasses, should be worn during the installation process to safeguard against any accidents or injuries.
Step-by-Step Toilet Replacement and Installation Guide
Step 1: Preparing for the Replacement
1. Shut off the water supply: Locate the water supply valve behind the toilet and turn it clockwise to shut off the water flow. Flush the toilet to remove any remaining water from the tank and bowl.
2. Remove the old toilet: Disconnect the water supply line and unscrew the nuts connecting the toilet to the floor. Carefully lift the toilet and set it aside.
3. Inspect the closet flange: Inspect the closet flange (the pipe fitting that connects the toilet to the drainpipe) for any damage. Replace or repair if necessary.
Step 2: Installing the New Toilet
1. Insert the wax ring: Place the wax ring onto the flange, ensuring it is centered and properly aligned. Apply gentle pressure to create a secure seal.
2. Position the new toilet: Carefully position the new toilet over the wax ring, aligning it with the closet bolts. Apply even pressure to compress the wax ring and create a tight seal.
3. Secure the toilet: Place the provided washers and nuts onto the closet bolts and tighten them with a wrench. Ensure the toilet is level using a level tool.
Step 3: Connecting Water Supply and Testing
1. Connect the supply line: Attach the flexible supply line to the toilet tank's fill valve and tighten the connection with a wrench. Make sure it is firmly secured.
2. Turn on the water supply: Slowly turn on the water supply valve and allow the tank to fill. Check for any leaks around the connections and fix them if necessary.
3. Test the flushing: Flush the toilet multiple times to ensure proper water flow and drain functionality. Ensure the flapper valve seals tightly every time.
Conclusion
By following this comprehensive guide, you now have a clear understanding of the tools and materials required for a successful toilet replacement or installation. Remember to exercise caution, take proper safety measures, and consult a professional if needed. Enjoy your new, efficient, and aesthetically pleasing toilet!


