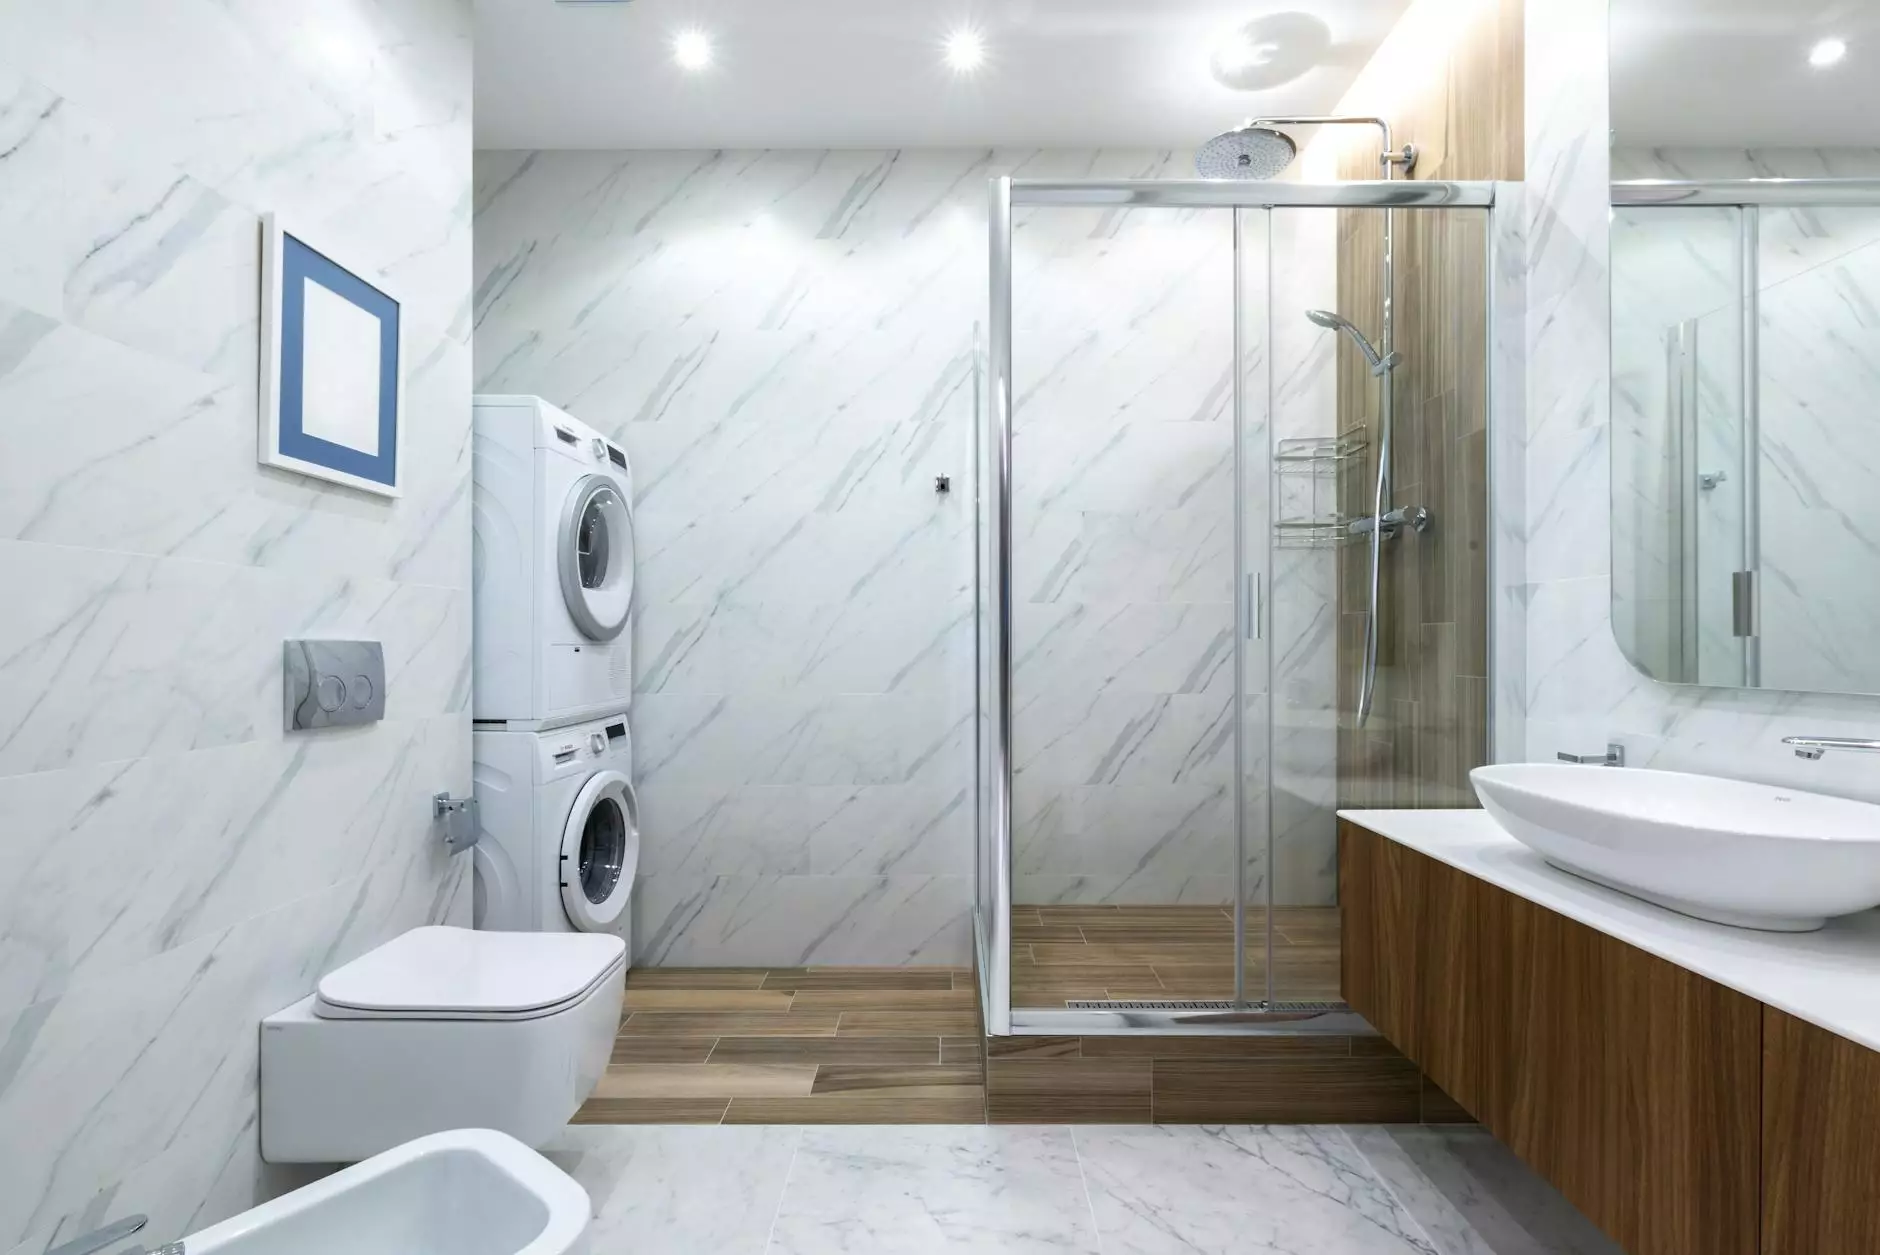
Easy Toilet Installation with Wax-free Seal
Products
The Importance of Choosing a Wax-free Seal
When it comes to installing a toilet, one crucial step is choosing the right seal. Traditional wax seals have been the standard for years, but now there's a better option - the wax-free seal. At Solar Powered Items, we understand the importance of a leak-free and long-lasting toilet installation, which is why we highly recommend using a wax-free seal.
Benefits of a Wax-free Seal
1. Superior Leak Protection: Wax-free seals are made from a durable and flexible material that provides a watertight seal between the toilet and the floor. Unlike wax seals, they don't compress over time, ensuring a longer-lasting, leak-free connection.
2. Easy Installation: Installing a wax-free seal is a breeze compared to traditional wax seals. With a wax-free seal, there's no need to worry about wax melting or sticking to your hands. Simply position the seal, align the toilet, and tighten the bolts.
3. Odor Elimination: Wax seals can trap unpleasant odors over time, leading to a less-than-ideal bathroom experience. Wax-free seals solve this problem by providing a clean and odor-free seal, enhancing the comfort and hygiene of your bathroom.
Step-by-Step Guide for Toilet Installation
Step 1: Gather the Necessary Tools
Before you begin, make sure you have all the necessary tools for a successful toilet installation. These may include:
- Adjustable wrench
- Screwdriver
- Level
- Bucket
- New wax-free seal
- Toilet bolts and caps
Step 2: Remove the Old Toilet
Prior to installing your new toilet, you'll need to remove the existing one. Follow these steps:
- Shut off the water supply by turning the shut-off valve clockwise.
- Flush the toilet to drain the tank and bowl.
- Disconnect the water supply line from the bottom of the tank using an adjustable wrench.
- Remove the caps covering the bolts at the base of the toilet and unscrew the nuts using a wrench.
- Lift the toilet off the floor and place it on newspaper or a drop cloth.
Step 3: Prepare the Toilet Area
Once the old toilet is removed, you'll need to prepare the area for the new installation:
- Inspect the closet flange for any damage or debris. Clean it thoroughly if necessary.
- Place a new wax-free seal on the flange, ensuring it is centered and properly aligned.
- Place the plastic retaining ring over the bolts on the flange.
Step 4: Install the New Toilet
Now it's time to install your new toilet:
- Position the toilet over the wax-free seal and align it with the bolts.
- Press down firmly to compress the seal and create a tight seal between the toilet and the flange.
- Secure the toilet to the floor by tightening the nuts onto the bolts.
- Place the caps over the bolts to provide a finished look.
Step 5: Test for Leaks
After installing the toilet, it's crucial to test for any potential leaks:
- Turn the water supply back on by turning the shut-off valve counterclockwise.
- Allow the tank to fill and check for any leaks around the base of the toilet.
- If leaks are present, tighten the nuts further or reposition the wax-free seal as needed.
Conclusion
With Solar Powered Items' comprehensive guide, installing a toilet with a wax-free seal has never been easier. Enjoy the benefits of superior leak protection, ease of installation, and odor elimination with a wax-free seal. Say goodbye to the hassles of traditional wax seals and achieve a long-lasting, watertight connection. Explore our wide selection of wax-free seals today and start your stress-free toilet installation journey!